T-962 Blues
Published on December 05, 2023
I made the mistake of buying a T-962 reflow oven without reading about it first. Turns out everyone already knows it's a piece of crap. Luckily, several enterprising hackers have fixed it up. These notes serve to expand on their work and clarify some points I found confusing.
1. Temperature/Time Accuracy
The temperature and time accuracy of this oven are atrocious. To fix this, we will add a temperature sensor and flash new firmware.
1.1 Temperature Sensor
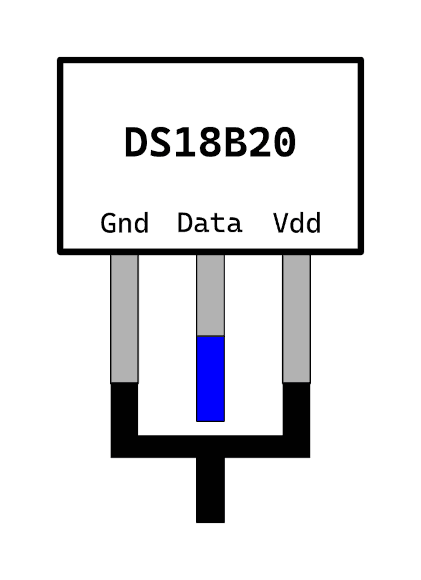
The temperature sensor we will use is the DS18B20. There are multiple vendors for this part, and some of them do not support the 1-wire operation mode which we will use. It is a three-pin package. The outer two leads should be connected together and tied to GND, and the inner lead is the "data" line which needs to be connected to the microcontroller.
- Fold outer leads down
- Tin outer leads together
- Solder wire to outer leads
- Solder wire to inner lead
- Add heatshrink tubing
You will need an SMD 4.7k resistor to act as a pullup. This is one option.
1.2 Firmware
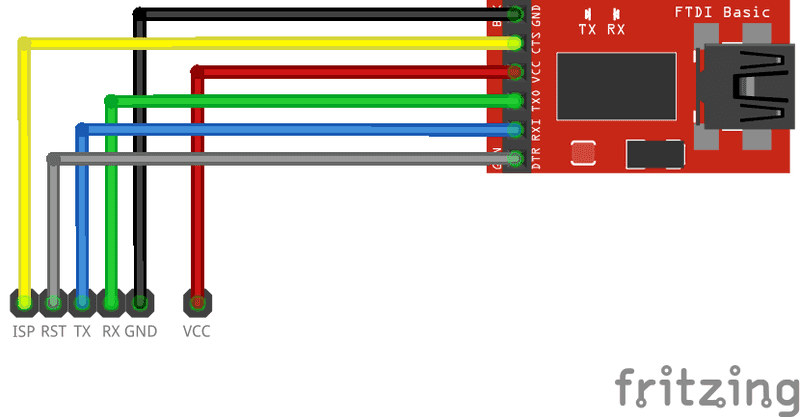
To flash firmware, you need to connect a USB TTL serial converter. Locate the pin header labeled ISP on the PCB.
Make the following connections from the converter to the ISP header:
- 3.3V ->
- Ground -> Ground
- TX -> RX
- RX -> TX
- CTS -> ISP
- DTR -> RST
2. Grounding
The chassis pieces are individually powder-coated, so the included grounding lug only grounds the rear panel of the chassis.
To solve this, you have two options: sand the powder coat off in specific spots or add more grounding wires.
2.1 Sanding
You need to sand the powder coat off of the following surfaces:
- The outer face of the rear panel around the screws which connect the rear panel to the top/bottom halves of the enclosure
- The area around the grounding lug on the rear panel
2.2 Adding wires
Use 12 gauge solid core wire, screws, and nuts to connect the mains ground to the top and bottom halves of the enclosure.
3. Fan
The PCB cooling fan is incredibly noisy. I replaced it with a Noctua NF-A4x10 FLX.
Two wiring methods are possible.
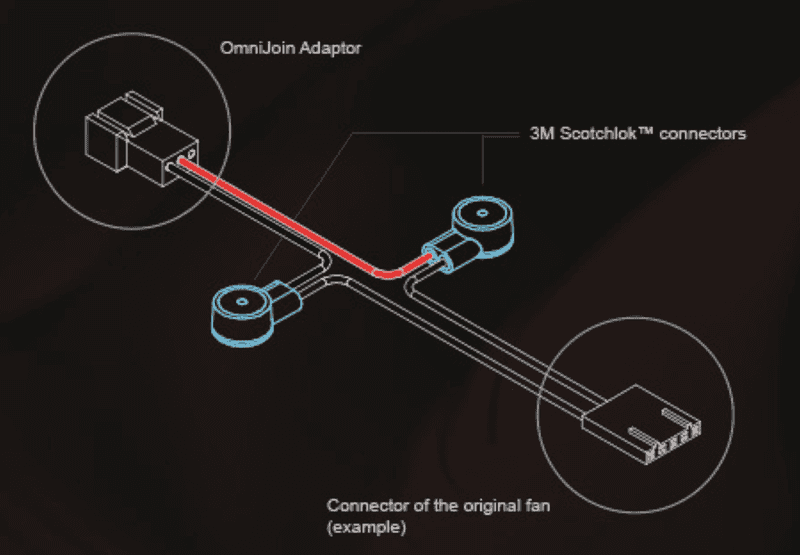
3.1 OmniJoin Adapters
Cut off the original fan cable with 2-pin JST connector. Attach each wire to a Scotchlok connector.
3.2 Rewire
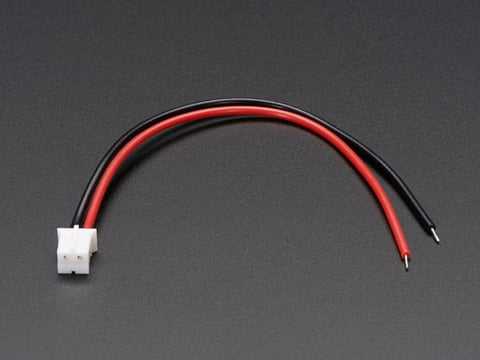
Cut off the end of the Noctua fan cable. Wire the 12V and GND wires to a male 2-pin JST-PH connector.


